Growing Food
Preparing Food
Top 10 Healthiest Foods to Grow! (Part 2)
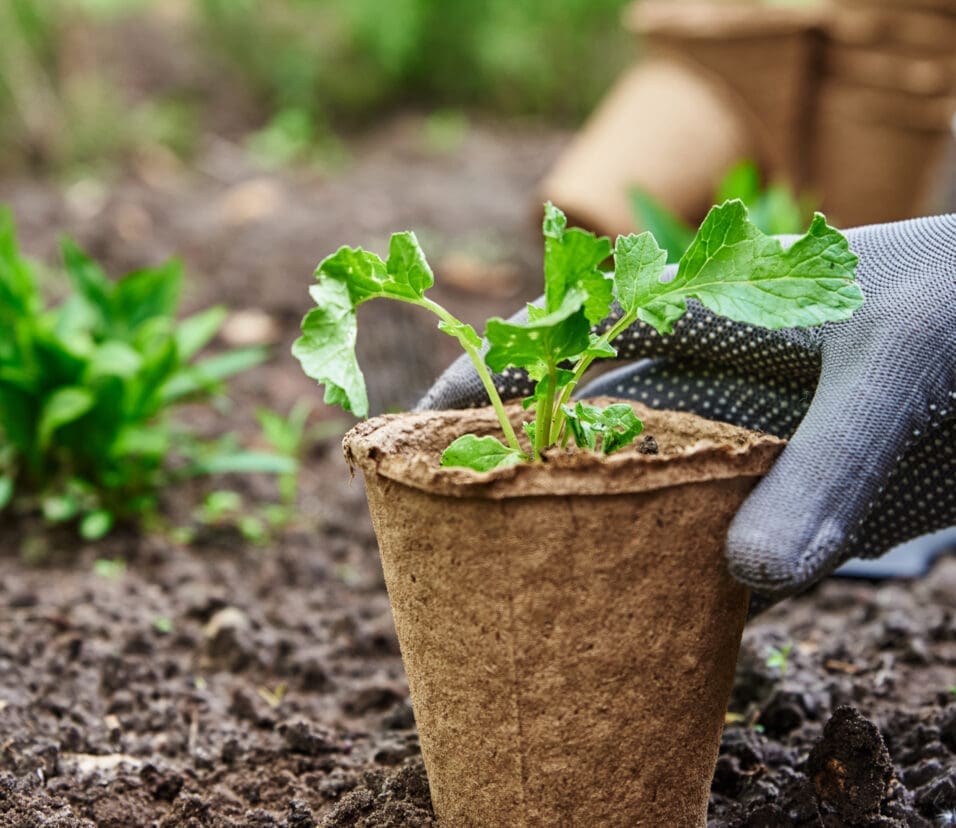
Easy Ways to Grow Your Own Superfoods
Hello everyone, and welcome back to another edition of growing your own superfoods. In Part 1, we commenced by defining what is known as a superfood. Then, we dug into the benefits of growing the superfoods organically and incorporating them into your diet. We even gave you a peek into the top 10 healthiest superfoods to grow, by sharing one of them with you. Join us now for Part 2, as we continue on the top 10 Caribbean superfoods journey, uncovering another two. Get ready to further indulge your senses and elevate your understanding of the extraordinary superfoods from the region.
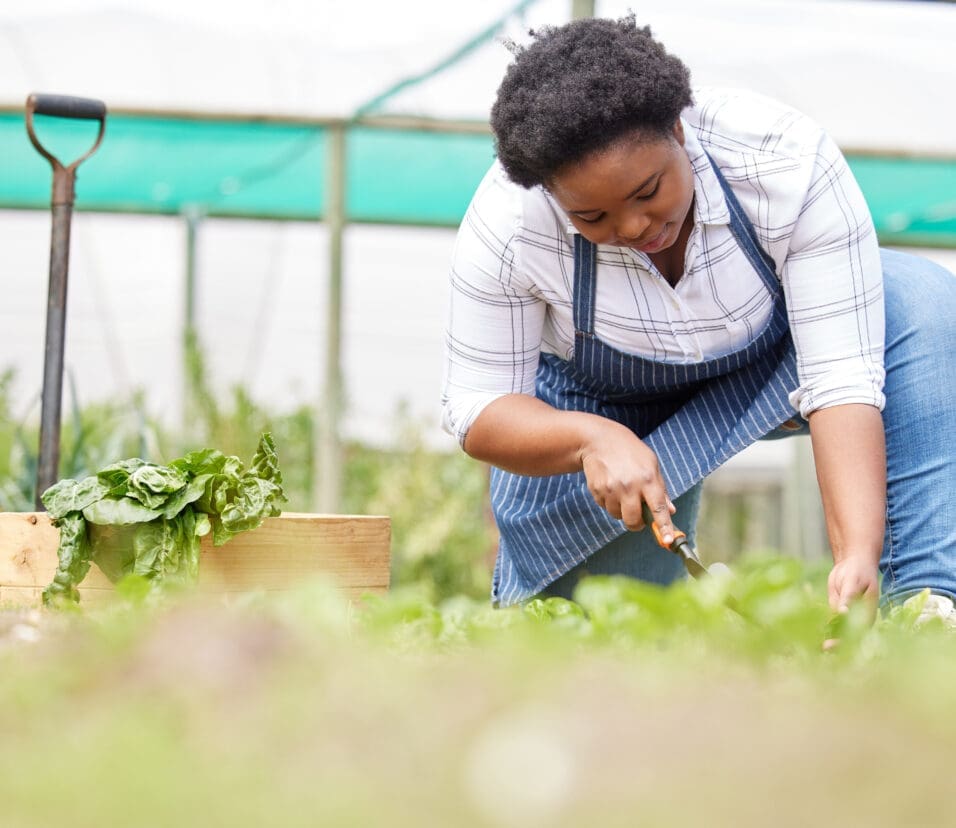
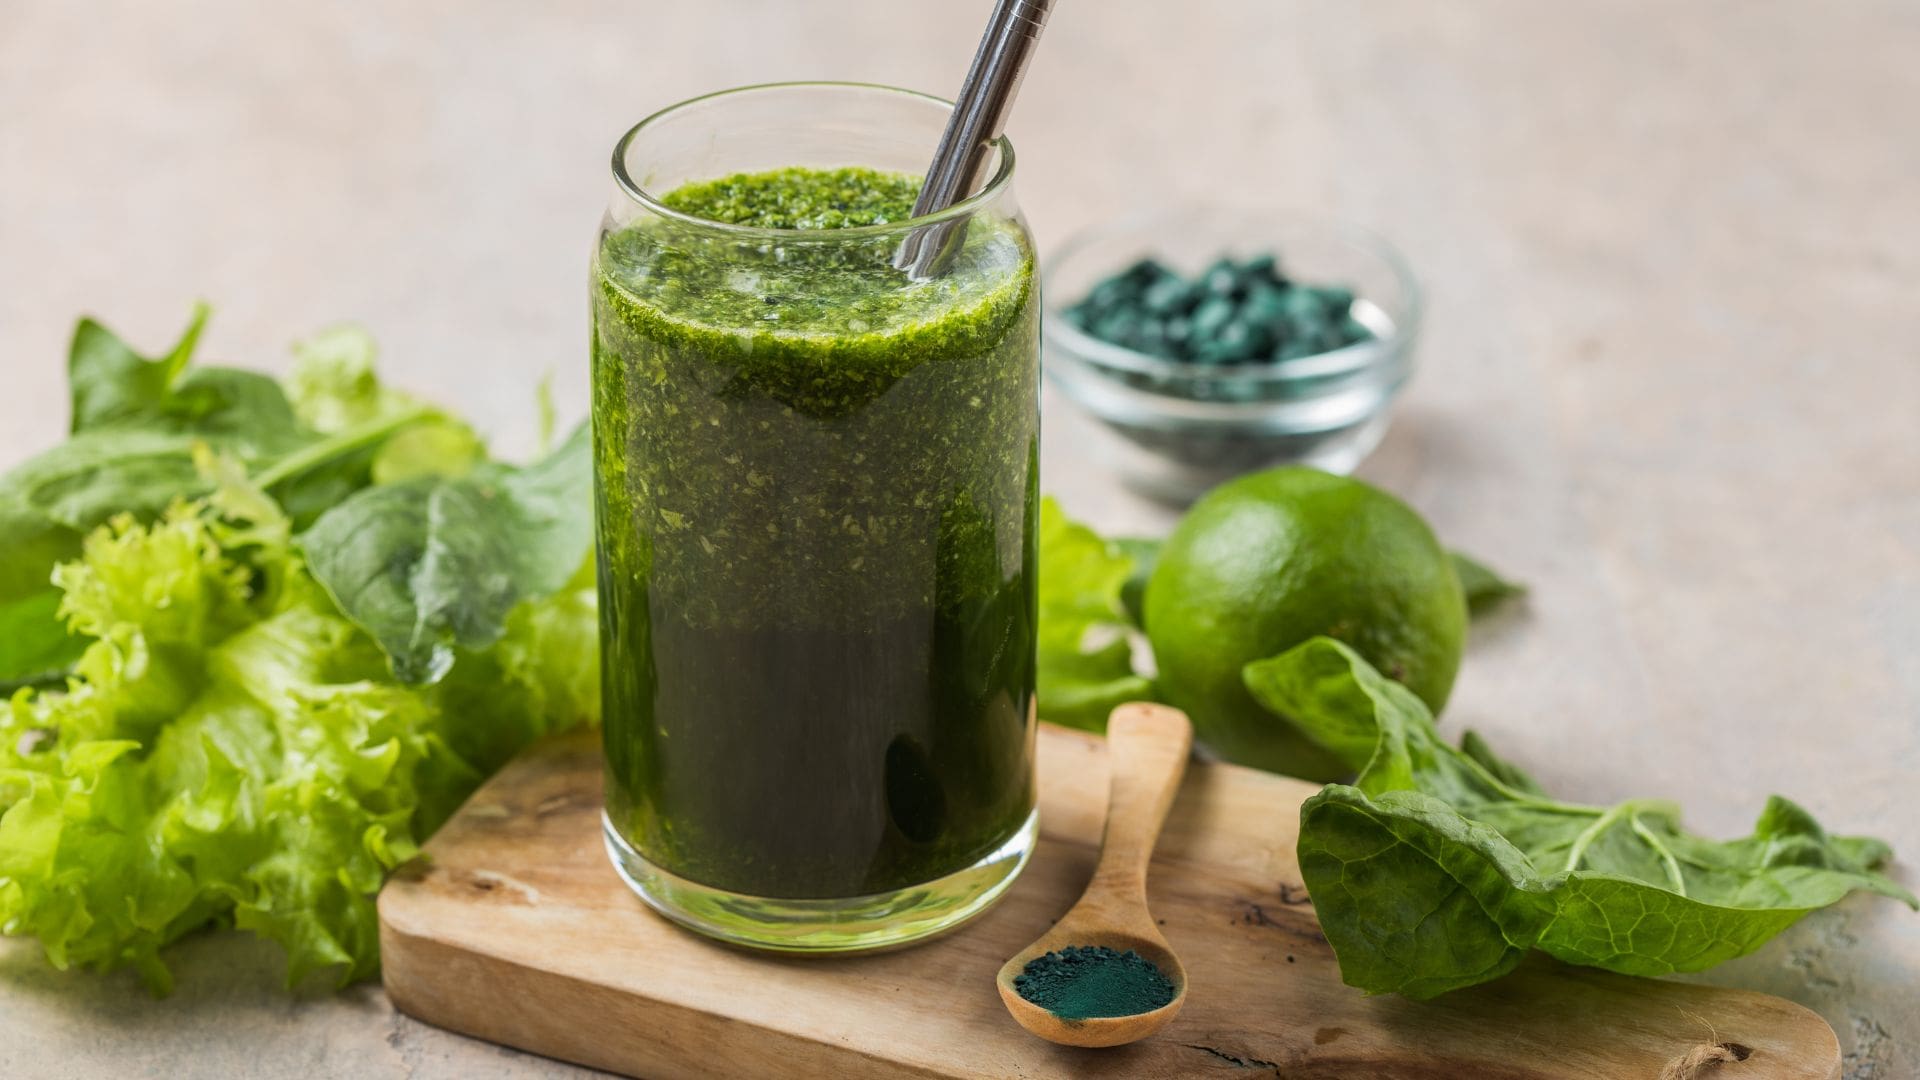
- DARK LEAFY GREENS (KALE AND SPINACH):
- Select the right varieties: Select heat-tolerant varieties of kale and spinach that can thrive in the warm temperatures and high humidity commonly found in the region.
- Provide partial shade: Plant your dark leafy greens in an area that receives morning sun and afternoon shade to protect them from excessive heat.
- Amend the soil: Dark leafy greens prefer well-draining soil with good fertility. Prior to planting, enrich the soil with organic matter like compost, well-rotted manure, or coconut coir. This will improve soil structure, moisture retention, and nutrient availability.
- Water consistently: Because of the region’s warm climate, dark leafy greens may require more frequent watering. Water deeply and evenly, ensuring the soil doesn’t dry out completely between waterings.
- Mulch to conserve moisture: Apply a layer of organic mulch, such as straw or dried leaves, around the plants. Mulching helps retain soil moisture, suppresses weed growth, and regulates soil temperature, which can be especially beneficial in the hot climate.
- Organic pest control: Monitor your plants for pests such as aphids, caterpillars, or snails. Handpick or use organic pest control methods like insecticidal soaps or neem oil to manage infestations. Encourage beneficial insects like ladybugs and lacewings to naturally control pest populations.
- Harvest leaves regularly: Pick the leaves when they are young and tender for the best flavour and texture. Regular harvesting also helps prevent bolting (flowering) and ensures a longer harvest period.
- Rotate crops: Practice crop rotation to prevent the buildup of pests and diseases. Avoid planting dark leafy greens in the same spot every year. Rotate them with different plant families to maintain soil health and reduce the risk of specific pests or diseases.
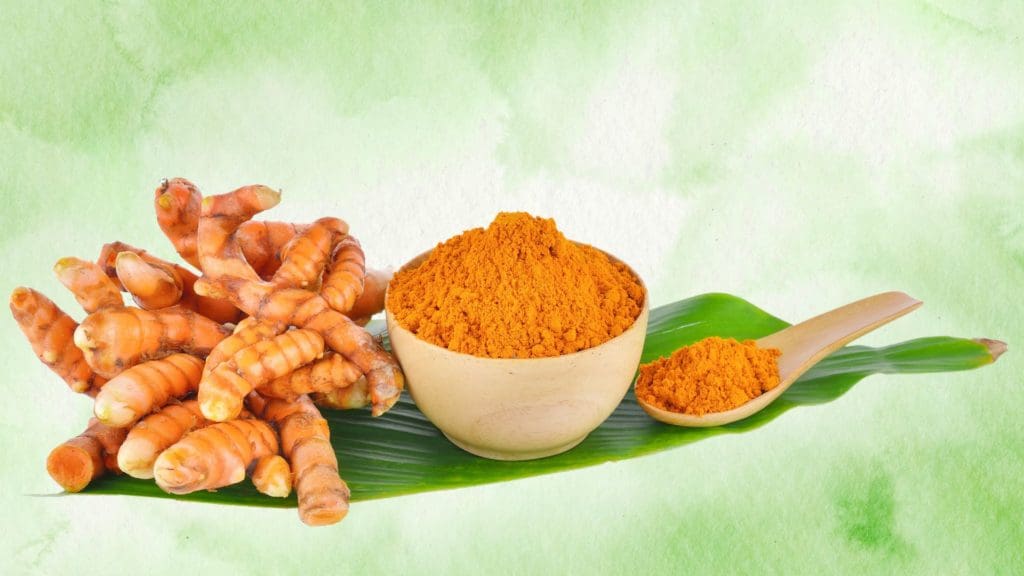
- TURMERIC:
- Select quality turmeric rhizomes: Choose fresh, organic turmeric rhizomes that are plump, firm, and free from mould or damage.
- Prepare a suitable planting area: Turmeric prefers well-draining soil with plenty of organic matter. Prepare a planting area that receives partial shade or filtered sunlight, as direct sunlight can be too intense. Improve the soil by adding compost, coconut coir, or well-rotted manure to enhance fertility and drainage.
- Plant the rhizomes: Plant the turmeric rhizomes in the prepared soil, ensuring that the buds or “eyes” are facing upward. Plant them about 2 to 3 inches deep, spaced approximately 8 to 12 inches apart. If planting in containers, use a spacious pot that allows the rhizomes to spread.
- Water consistently: Keep the soil consistently moist but not waterlogged. Turmeric requires regular watering, especially during dry spells. Water deeply and thoroughly, ensuring the soil remains evenly moist throughout the growing season.
- Mulch to retain moisture: Apply a layer of organic mulch, such as straw or dried leaves, around the turmeric plants. Mulching helps retain moisture, suppress weed growth, and regulate soil temperature.
- Provide occasional feeding: Turmeric plants benefit from occasional organic fertilisation. Apply a balanced organic fertiliser or compost every few weeks during the growing season to provide essential nutrients.
- Control pests naturally: Monitor your turmeric plants for common pests such as aphids, mites, or snails. Remove any pests you find manually or use organic pest control methods like neem oil or insecticidal soap. Encourage beneficial insects like ladybugs and lacewings to naturally control pest populations.
- Harvest when mature: Turmeric is typically ready for harvest after 8 to 10 months of growth when the foliage begins to turn yellow and die back. Carefully dig up the rhizomes using a garden fork or trowel. Shake off excess soil and allow them to dry in a well-ventilated area before storing or using.
Tune in for Parts 3 & 4, as we explore the remaining top 10 healthiest superfoods in the Caribbean and how easiest to grow them the organic way.